

In hand therapy, the dynamic extension splint isn’t the most often used splint, but it’s one of the most challenging to fabricate.
In this article, I’ll discuss everything you need to know about the dynamic extension splint.
If you’re new to hand therapy or wanting to sharpen your skills, check out my book on splinting without patterns.
Splinting without patterns for Hand Therapists
Why is it called a dynamic extension splint?
Have you ever heard about a dynamic or static rope?
In rock climbing, the type of rope you use determines the activity. If you plan on climbing, the preferred choice is to use a dynamic rope that gives or stretches when a climber falls.
A static rope does not give or stretch. It’s purpose it’s to keep the rope fixed to prevent movement. It’s usually used for repellers coming down a mountain.
For safety, It prevents jerky or dynamic movements.
Dynamic refers to constant change, so a dynamic extension splint (DES) is a splint that allows for motion.
Most DES allow motion to occur at the digits with the wrist in a static position of extension. Hence the name, dynamic extension splint.
Types of dynamic extension splints
Here are a few different types of DES
- Prefabricated DES
- Radial nerve palsy splint
- Short arm DES
- Long arm DES
- Digit DES
- Wrist DES

When to use a dynamic extension splint?
Dynamic extension splints are usually used when one joint requires stabilization and another joint requires dynamic movement.
For example, in the case of radial nerve palsy (wrist drop) the wrist is stabilized (Static) in extension to prevent the wrist from dropping. The dynamic part of the splint is used with the digits to increase function.
Therefore, the wrist is stabilized to keep the hand in a functional position while the fingers freely move with assistance from the splint. This allows the patient to use their affected limb for functional activities such as grasping an object.
Questions to answer before splinting
According to hand surgeon, Paul Brand, before splinting we should be asking these 10 questions.
- How much force?
- Through what surface?
- For how long?
- To what structure?
- By what leverage?
- Against what reaction?
- For what purpose
- Measured by what scale?
- Avoiding harm?
- Warned by what signs
(Brand, 2002, pp. 1811-1817).
What diagnosis is a dynamic extension splint used for?
- Radial Nerve Palsy or wrist drop
- Extensor tendon injuries/repairs
- Stoke patients with limited wrist extension and active digit flexion
- Patients with contracted wrists and active digit flexion
- Injuries requiring limited active range of motion
How to buy a prefabricated dynamic extension splint
Braceability is the only company I’m aware of that makes a dynamic extension splint. You can buy a prefabricated splint here. This splint is unique because most extension splints don’t offer dynamic components that increase functional use of the hand.
A prefabricated DES is usually much more affordable for patients as many hand clinics may charge patients up to $700 for a custom splint.
How long does it take to make a dynamic extension splint?
If it’s your first time, schedule at least one hour. Practice on a colleague a few times to feel more comfortable. Better off, have a mentor observe your first splint.
If you need to use pulley stoppers you may need more time.
After you feel more comfortable you should be able to fabricate a DES in less than 45 minutes.
How to fabricate a dynamic wrist extension splint
There are many ways to fabricate a DES. In this tutorial, I will explain one of the most common methods to fabricate this type of splint using theraplastic and a phoenix outrigger.
Diagnosis associated with this splint includes
- Radial Nerve palsy
- Extensor tendon laceration/repairs
- CVA
Required Materials
- Thermoplastic
- Splint pan
- Stockinette
- Industrial grade scissors
- Phoenix outrigger kit
- Thermoplastic glue
- Pulley Slings
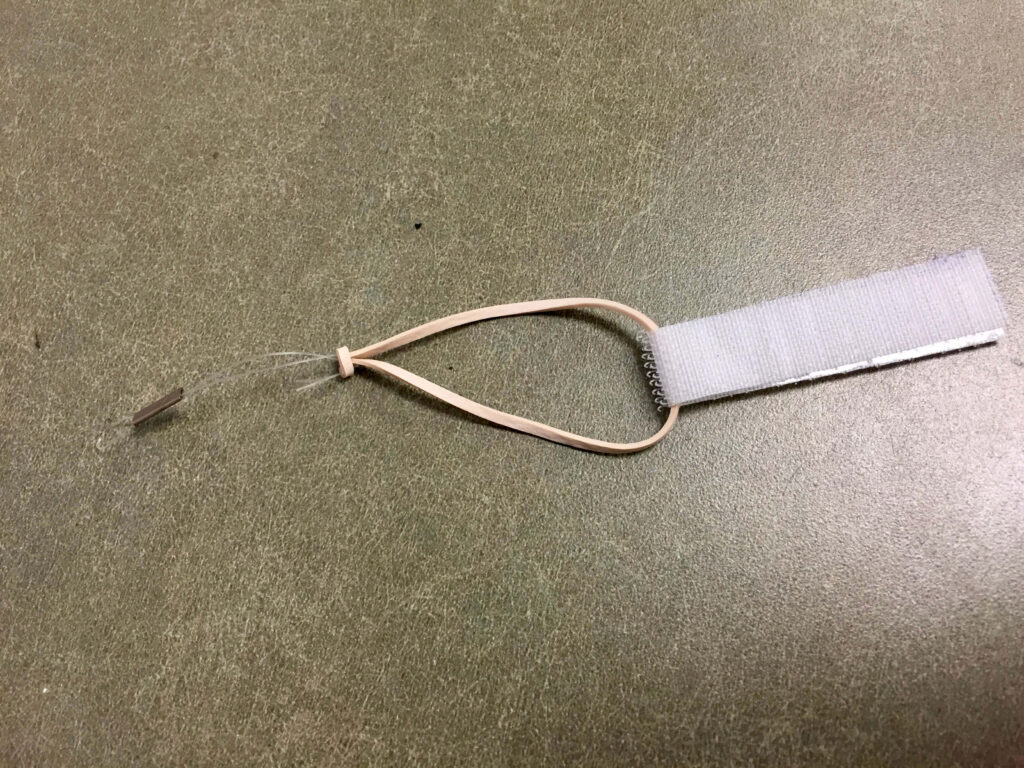
- Rubber bands (Various sizes)
- Yellow splint pencil
- Cold spray

Step 1: Mold Thermoplastic
- Cut the length from the first MP joint to mid forearm.
- Cut the width to fit the middle of the dorsal forearm at the wide end.
- Cut the width to the middle of the 1st and 5th metacarpals at the narrow end.
- Place thermoplastic in a heated splint pan.
- Place the splint material on the dorsal wrist and forearm with the wrist in 20 degrees of extension.
- Round sharp edges with scissors.
Step 2: Outriggers
Before following these steps you will need to decide where you will place the outriggers. Typically they will be placed at a 90 degree angle from the sling.
- Cut a small piece of thermoplastic used to glue outriggers to thermoplastic and toss in splint pan
- Use a heat gun to heat the edges of a phoenix outrigger.
- Place outrigger edges firmly against splint.
- Remove small piece of thermoplastic from splint pan and add glue.
- Place glued thermoplastic to cover imbedded outrigger on splint.
- Thread outrigger with sling pulleys.
- Add rubber band to pulleys
- Adjust phoenix outriggers with Allen wrench to achieve 90 degree angle of force to pulleys
- Add Velcro to D-ring attachment to splint as rubberband anchor.
- Connect rubber band to D-ring.
- Add pulley stoppers if limited ROM is permitted.
Note: Phoenix outriggers can be replaced with individual outriggers and D-rings can be replaced with nut and bolt anchors with a revolving hole punch.
You can also use a piece of velcro to create your own D-ring.
How to fabricate a thumb based dynamic extension splint
Diagnosis associated with this splint
- Extensor pollicis laceration/repair
Here are the steps to fabricate a thumb or 1st digit DES.
Materials
- Use the above materials but replace the phoenix outrigger with a single outrigger as seen below.

- Create a hand based or forearm based thumb spica splint
- Decide on placement of outriggers for a 90 degree angle of pull
- Cut a small piece of thermoplastic used to glue outriggers to thermoplastic and toss in splint pan
- Use a heat gun to heat the edges of a phoenix outrigger.
- Place outrigger edges firmly against splint.
- Remove small piece of thermoplastic from splint pan and add glue.
- Place glued thermoplastic to cover imbedded outrigger on splint.
- Thread outrigger with sling pulleys.
- Add rubber band to pulleys
- Adjust outriggers with Allen wrench to achieve 90 degree angle of force to pulleys
- Add Velcro to D-ring attachment to splint as rubberband anchor.
- Connect rubber band to D-ring or anchor.
- Add pulley stoppers if limited ROM is permitted.
The difference between a dynamic extension splint and and a static extension splint
As I discussed earlier, dynamic splints are used for motion and static splints are used to immobilize the joint in a fixed position.
If I were using a splint for wrist drop, I would choose a dynamic splint to increase active movement to the digits. A static splint would have the opposite purpose and decrease movement.
For example, a resting hand splint is a static splint used to immobilize both the wrist and digits. It keeps the hand and wrist in a functional position and is sometimes used for patients with contracted wrists or digits.
Remember, dynamic is used when you want to promote movement and static is used to constrict movement.
Conclusion
Dynamic extension splinting can be challenging and often frustrating, but over time it becomes easier and easier. To feel more comfortable
- Observe a mentor
- Practice with a mentor
- Have a mentor observe you
I hope this article was helpful. To learn more about splinting and workshops subscribe below.
Check out my other post on ulnar gutter splint uses and fabrication.
And click below to learn how to splint without patterns.
Splinting without patterns for Hand Therapists

David is the lead editor of OT Focus. He has been practicing as an Occupational Therapist since 2013. He specializes in acute care, hand therapy, and ergonomics.


![How to reduce hand swelling [Hand Therapy basics]](https://otfocus.com/wp-content/uploads/2021/03/How-to-reduce-hand-swelling-1024x576.jpg)