Ulnar gutter splints are most commonly fabricated by hand therapists or surgeons. They have many uses, but are primarily used for boxer fractures (5th metacarpal fractures).
The primary purpose of an Ulnar gutter splint is to keep the wrist and hand in a “safe position.” This should also allow the MP joints of the hand stabilized, while allowing the IP joints to move freely.
There are different types of ulner gutter splints. Some are used to support the wrist and digits while others are used to support the digits only. They may also be used to provide a protective barrier to reduce pain and promote healing.

Why is it called an ulnar gutter splint?
It’s called an ulnar gutter splint because of it’s “U” shape that looks like a gutter. The splint fits around ulna anterior and posterior in a “U” position.
Ulnar, refers to the placement of the splint at the dorsal/volar ulna.
Ulnar Gutter Splint Pattern
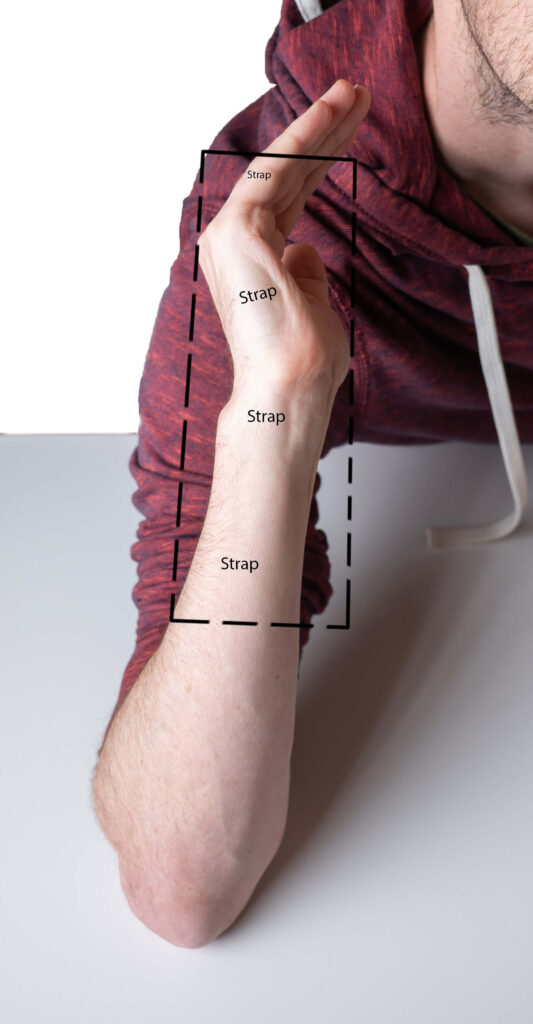
I’ve created a simple ulnar gutter splint pattern below for you to practice. If using thermoplastic, remember to round the corners.
To learn more about splinting without patterns, check out my ebook.

How to fabricate an ulnar gutter splint?
Difficulty level: 7/10
The Goal
When fabricating an ulnar gutter splint the wrist is extended slightly backwards, and the injured fingers (MP joint) are flexed forward to about 70 degrees.
Methods of Fabrication: Plaster vs Thermoplastic
There are two methods to fabricate an ulnar gutter splint. This includes using plaster or thermoplastic. One method is not better than an other.
Method #1 Plaster
This may include using casting by using plaster and wrapping the splint as a temporary method in the acute phase or after surgery. This is the oldest method and also the most versatile. This is usually performed by a surgeon or trained medical technician.
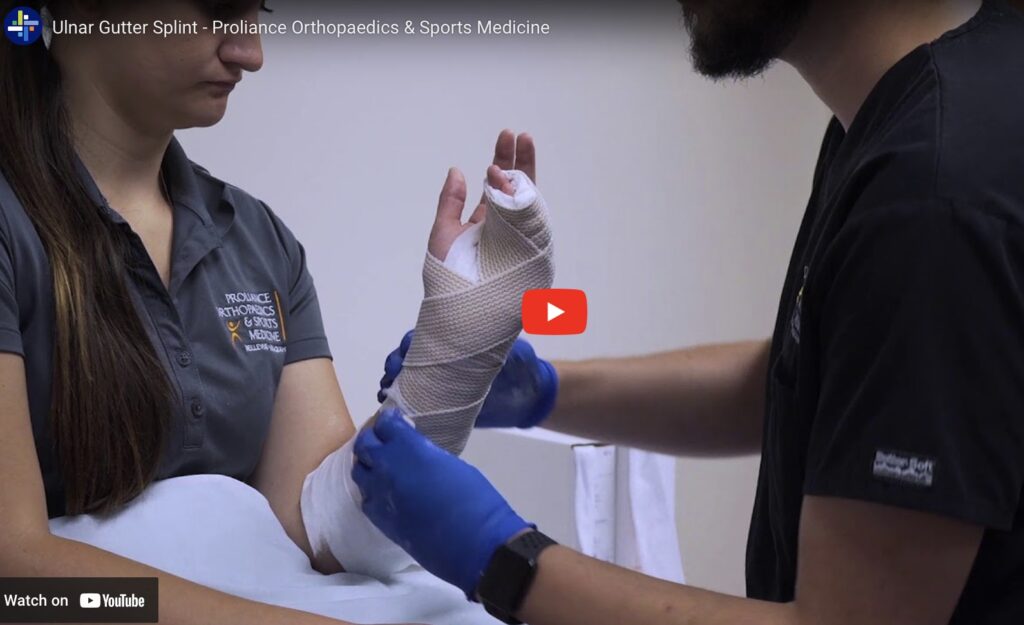
Method #2 Thermoplastic
The second method to fabricate an ulnar gutter splint is to use thermoplastic. Thermoplastic is used by hand therapists and designed for long term use. Thermoplastic can be heated and molded to the shape of the hand. It can then be readjusted as needed by heat.
Thermoplastic splints are usually fabricated by a hand therapist.
See the video below for a good visual. However, I prefer the patient to be positioned slightly different. See instructions below.
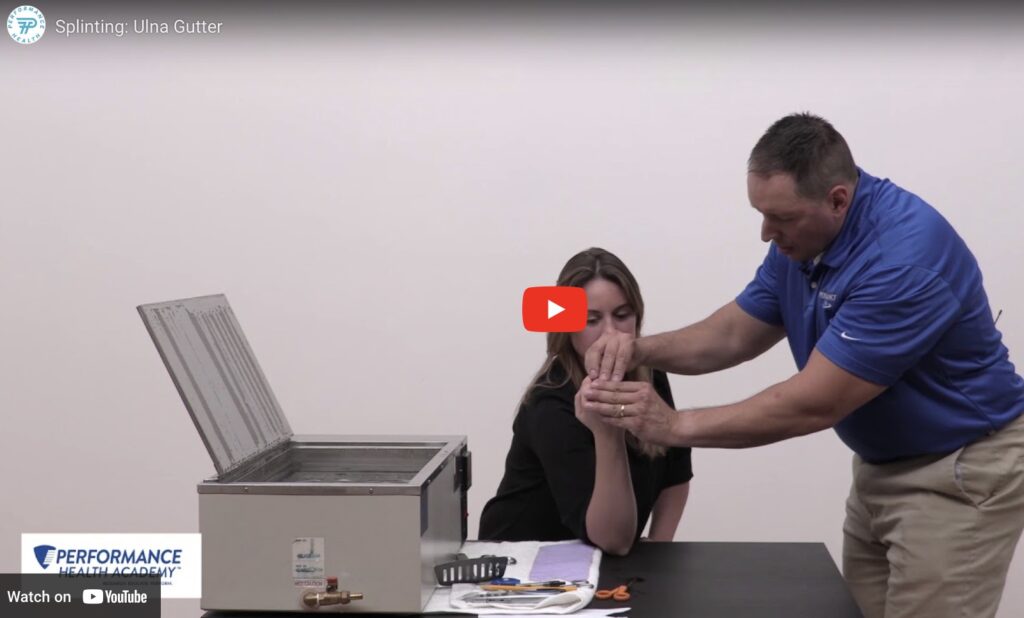
Forearm based instructions
- Place a light stockinette around the upper extremity to protect against heat.
- Heat the thermoplastic to 85 degrees Celsius in a splint pan with water.
- Positioning: Raise the clients arm with the shoulder at 90 degrees and the elbow flexed. You may need a second person to assist the client in this position.
- Range of motion: The back of the arm (medial ulna) should be facing the ceiling. The wrist should be slight extended to 20 degrees and the MP joints flexed to 70 degrees or according to protocol.
- Cut the splint in a rectangle with the width wide enough to fit the volar/dorsal aspect of the pt’s forearm. (See video)
- Cut the length from the mid forearm to the IP joints of digits.
- Place the warm splint on pt’s arm carefully keeping it in place around the digits. After a few minutes remove the splint to shape.
- Ensure the MP joints stay flexed in the safe position and the IP joints remain free to move.
Hand Based instructions
- Place a light stockinette around the hand to protect against heat.
- Heat the thermoplastic to 85 degrees Celsius in a splint pant with water.
- Positioning: Raise the clients arm with the shoulder at 90 degrees and the elbow flexed. The back of the hand should be facing the ceiling. The MP joints should be 70 degrees or according to protocol. You may need a second person to assist the client in this position.
- Cut the splint in a rectangle with the width wide enough to fit the half the volar/dorsum of the pt’s hand.
- Cut the length from the base of the hand to the IP joint of digits.
- Place the warm splint on pt’s arm carefully keeping it in place around the digits. After a few minutes remove the splint to shape.
- Ensure the MP joints stay flexed in the safe position and the IP joints remain free to move.
This splint can be especially difficult due to the awkward fit around the digits. Practice with an experienced hand therapist before trying this on your own.
Order an off the shelf splint for your practice if you’re not comfortable with splint fabrication.
Complications
- Skin burns from heated thermoplastic
- Avoid by covering the hand and wrist with stockinette before placing thermoplastic on skin
2. Pressure sores
- Smooth out soft edges with heat gun
- Add padding
3. Reduced swelling resulting in poor fit
- Bend or reheat to proper fit
Ensure the splint edges are smooth and do not put pressure on the skin or joints as this may cause pain and skin irritation.
Types of ulnar gutter splints
Listed below are different types of prefabricated ulnar gutter splints. Hand therapists are able to fabricate custom ulnar gutter splints based on need of the injury and fit.
- Forearm based (digits included)

- Forearm based (digits not included)

- Hand based (digits included)

When to use an ulnar gutter splint?
- Fourth and fifth metacarpal fractures (open reduction internal fixation or closed reduction).
- Fractures and soft tissue injuries of the 5th or 4th proximal or middle phalanx (P1 or P2 fractures)
- Metacarpal neck ORIF repair.
- Severe sprains of the digits.
- Fractures of the fourth and fifth fingers.
- Positioning for arthritis to avoid deviation.
What’s the difference between an ulnar gutter splint and radial gutter splint?
Ulnar gutter and radial gutter splints are different, because they serve different purposes.
Both braces are used to immobilize the wrist and digits, but an ulnar gutter brace protects the small, ring, and sometimes middle finger. A radial gutter splint is used to immobilize the index, and middle finger.
The radial gutter splint name comes from being on the radial side of the arm adjacent to the thumb. It’s also much easier to fabricate than the ulnar gutter splint.
Diagnosis related injuries for radial gutter splints
- Fractures or injuries to the head, neck, and shaft of the second or third metacarpal.
- Fractures and soft tissue injuries of the second or third, proximal or middle phalanx (P1 or P2 injuries)
- Metacarpal neck ORIF
- Severe sprains of the digits.
- Positioning for arthritis to avoid deviation.
Both splints work similarly to support the upper extremity in a safe position but are used differently according to the location of the injury.
To purchase a long arm ulnar gutter splint click here.
Conclusion
Splinting is a skill of learning and practice. The more you practice, the more your splinting will improve.
If you’re becoming more proficient, expand your knowledge by reading a hand therapy book.
My new ebook teaches you how to splint without patterns.
Here’s another book I recommend.

If you’re interested in becoming certified in hand therapy learn more here.

David is the lead editor of OT Focus. He has been practicing as an Occupational Therapist since 2013. He specializes in acute care, hand therapy, and ergonomics.


![How to reduce hand swelling [Hand Therapy basics]](https://otfocus.com/wp-content/uploads/2021/03/How-to-reduce-hand-swelling-1024x576.jpg)
